Setup Instructions
Get your MiniClaw up and running in a few minutes. Follow the steps below.
Part 1: WiFi Connection
Turn it on
Unpack your new MiniClaw unit, plug it into power point and turn it on.
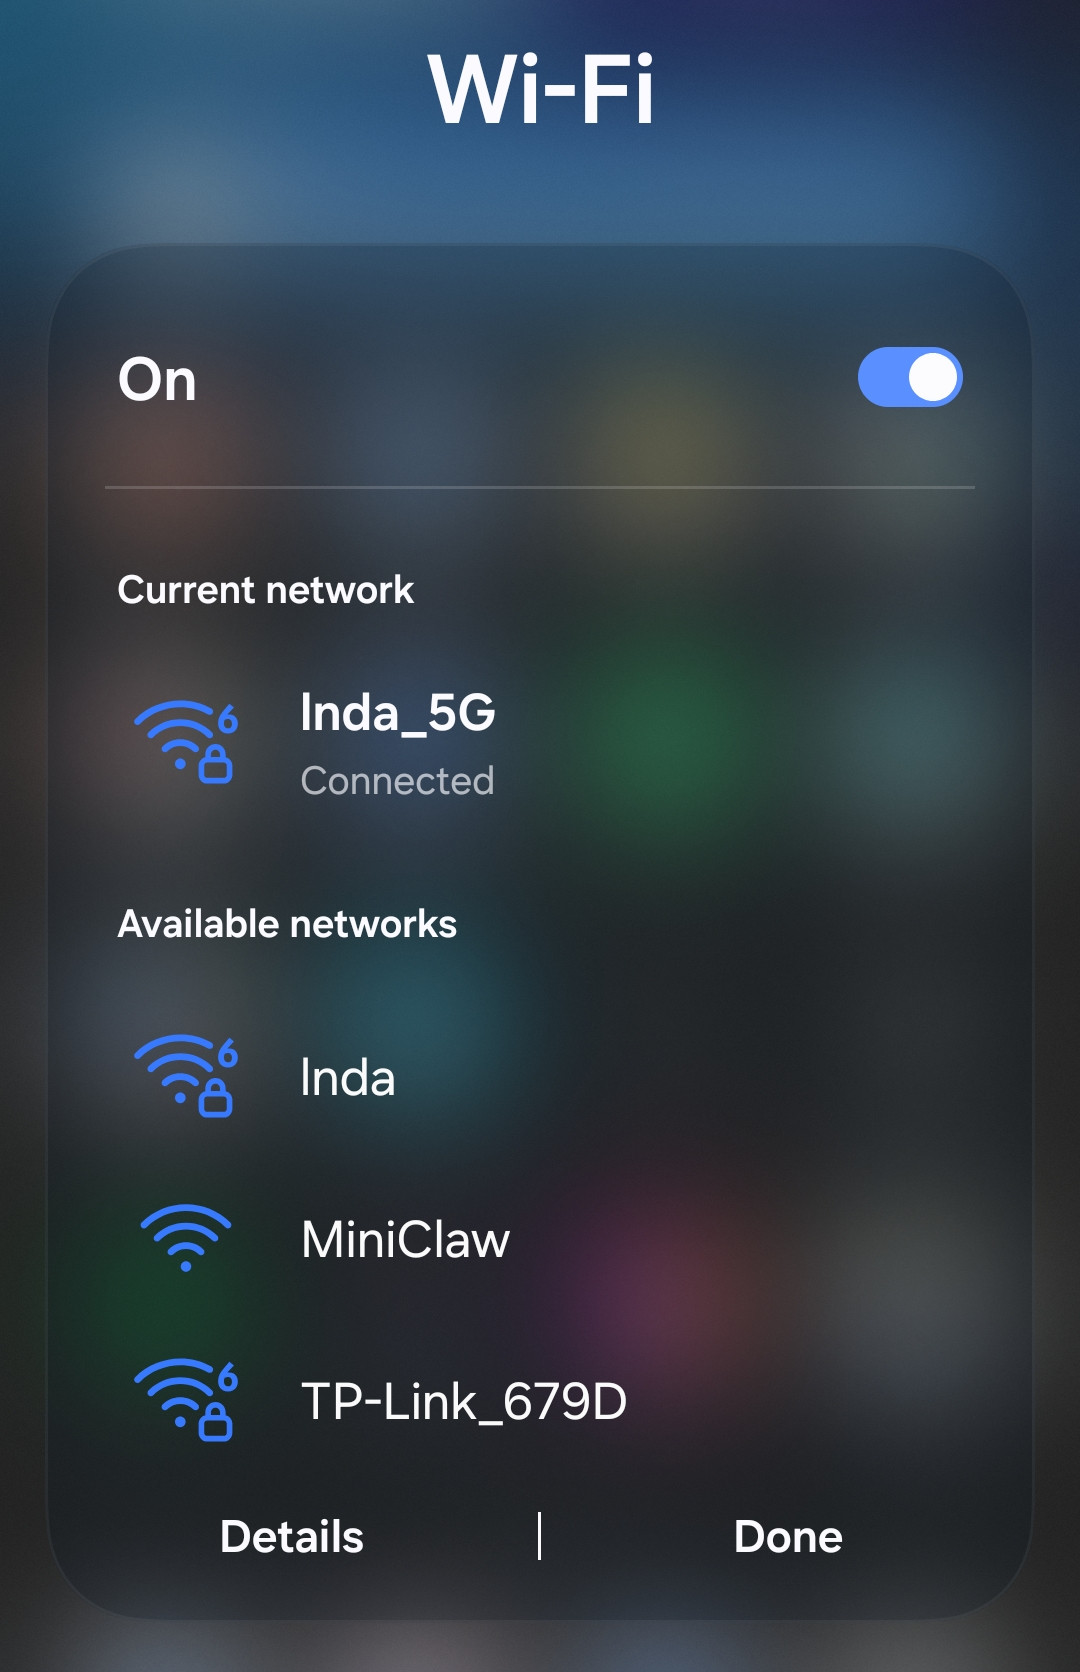
Connect to the MiniClaw Hotspot
Your fresh MiniClaw unit will automatically create a WiFi hotspot called“MiniClaw”. Find it in your phone's or computer's WiFi settings and connect to it. No password required.
Connect MiniClaw to Your WiFi Network
Once connected to the hotspot, open a browser and go to http://miniclaw.local/wifi to access the WiFi Connect page or simply use this button:
If the page doesn't load, make sure you're still connected to the “MiniClaw” hotspot.
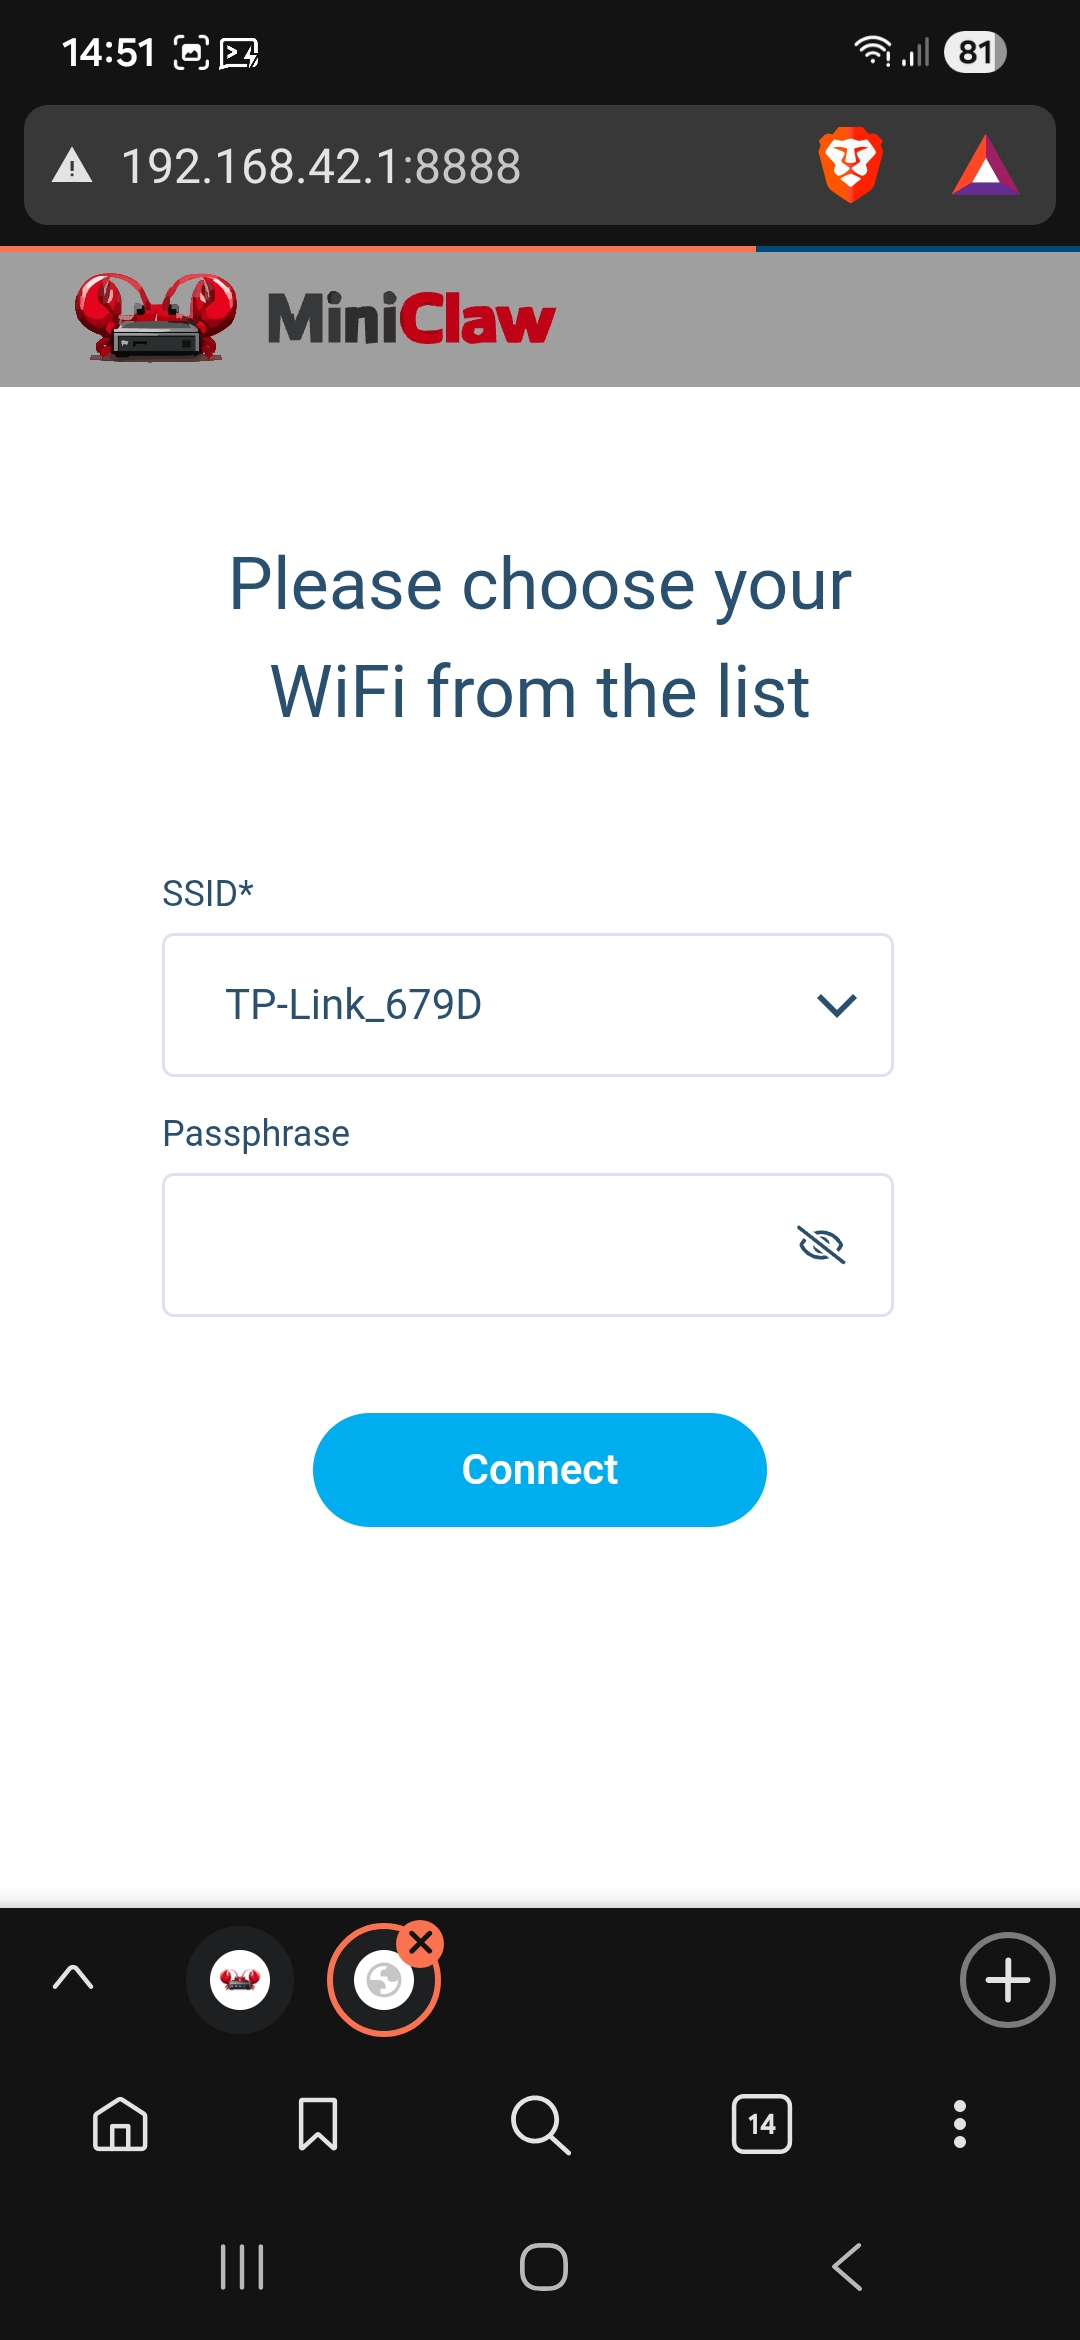
On the WiFi Connect page select the network you want your MiniClaw to connect to and enter it's password so that MiniClaw can connect.
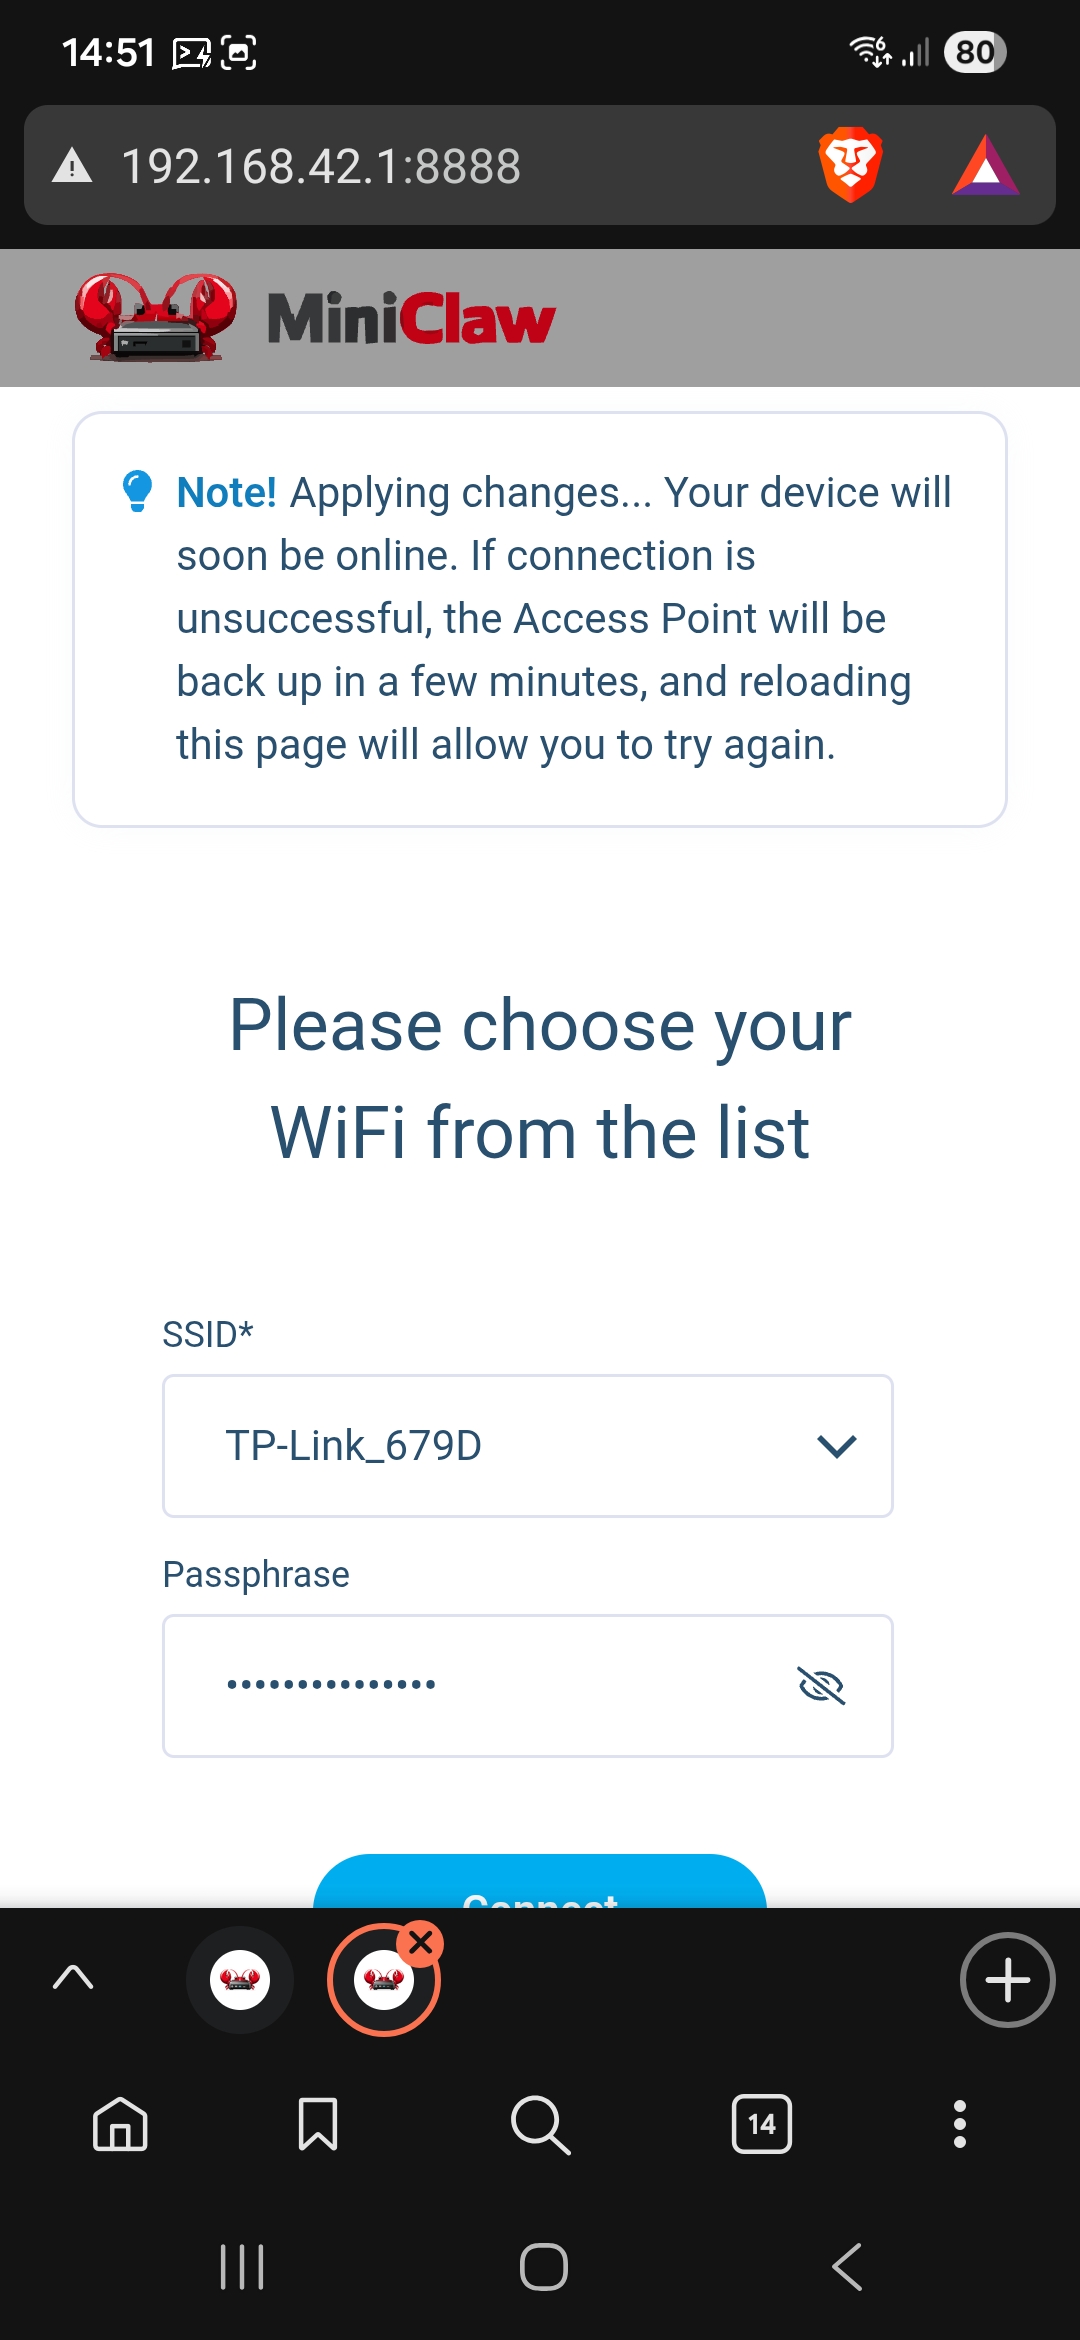
After submitting:
- MiniClaw shuts down the hotspot
- It connects to the selected WiFi network
Part 2: MiniClaw Setup Wizard
Open MiniClaw's Setup Wizard
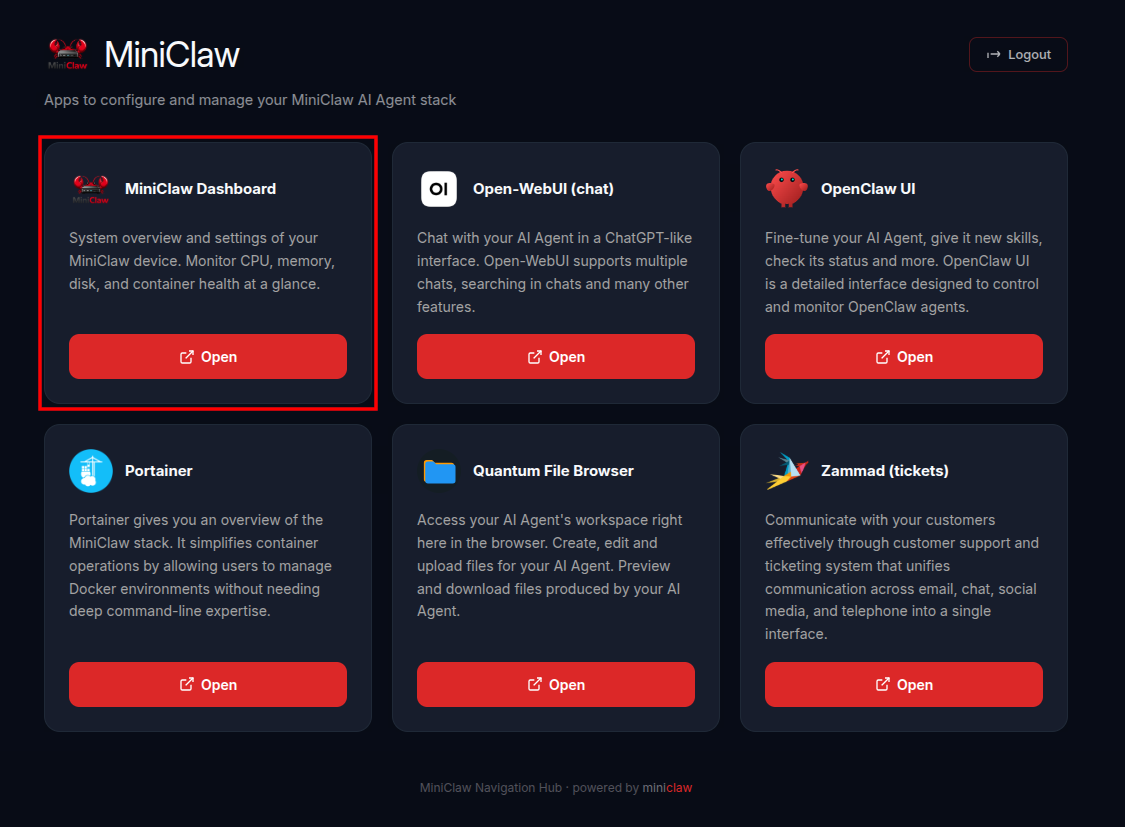
Reconnect your phone or computer back to the same WiFi network you've selected in the previous step and open the MiniClaw Navigation Hub:
Select the MiniClaw Dashboard:
MiniClaw will briefly check its internet connection:
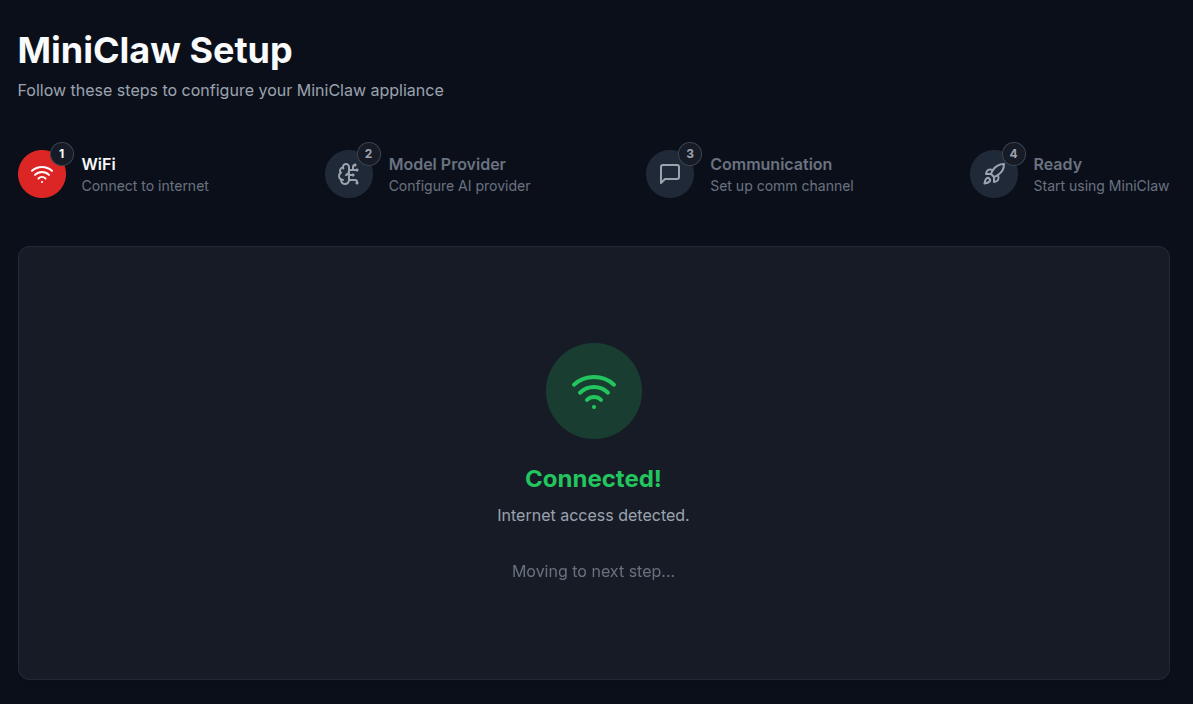
...and move automatically to the next step.
MiniClaw needs to be connected to Internet in order to use AI model from your selected provider and to configure a communication channel. See next steps...
Choose a Model Provider
Select your preferred AI model provider and enter your API key. MiniClaw supports all major providers but only these three options are available during setup:
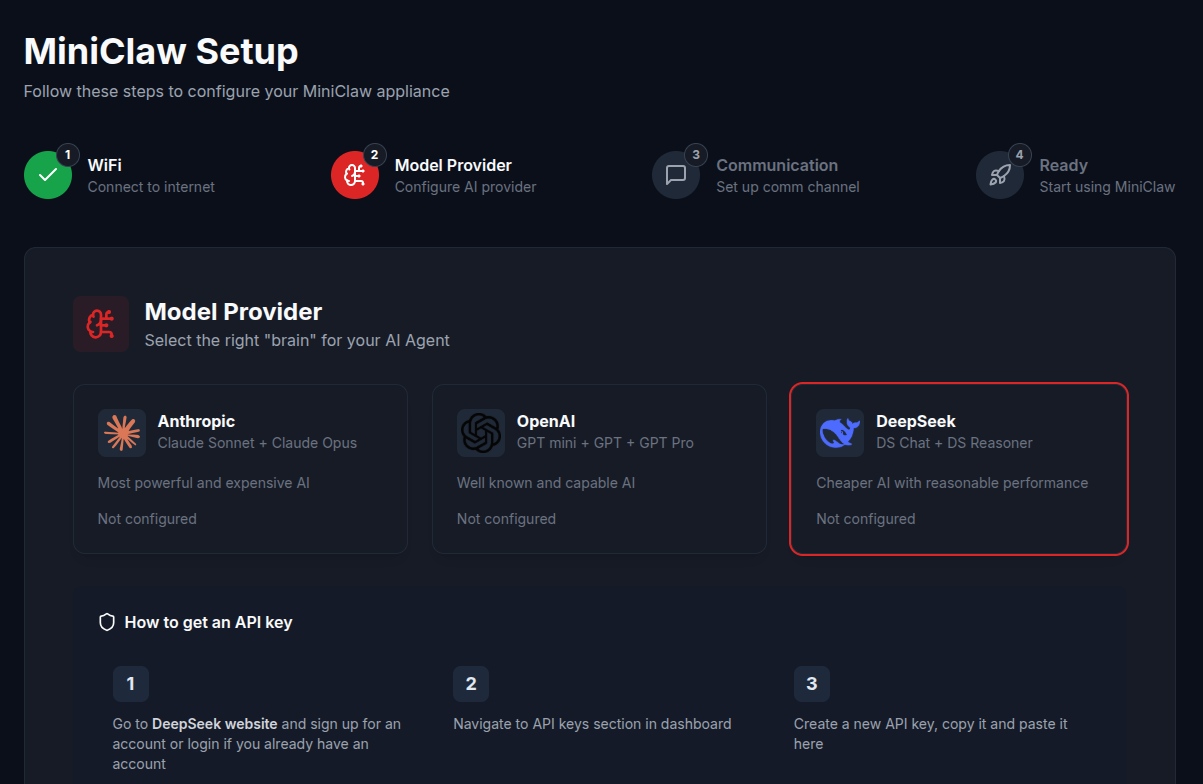
Your API key stays on your local MiniClaw and is never sent anywhere else.
Set Up a Communication Channel
MiniClaw comes pre-configured with:
- Open-WebUI: a web app similar to ChatGPT
- OpenClaw integrated webchat
If you also want to chat with your AI agent from your phone through one of the messaging apps, you can set it up on this page:
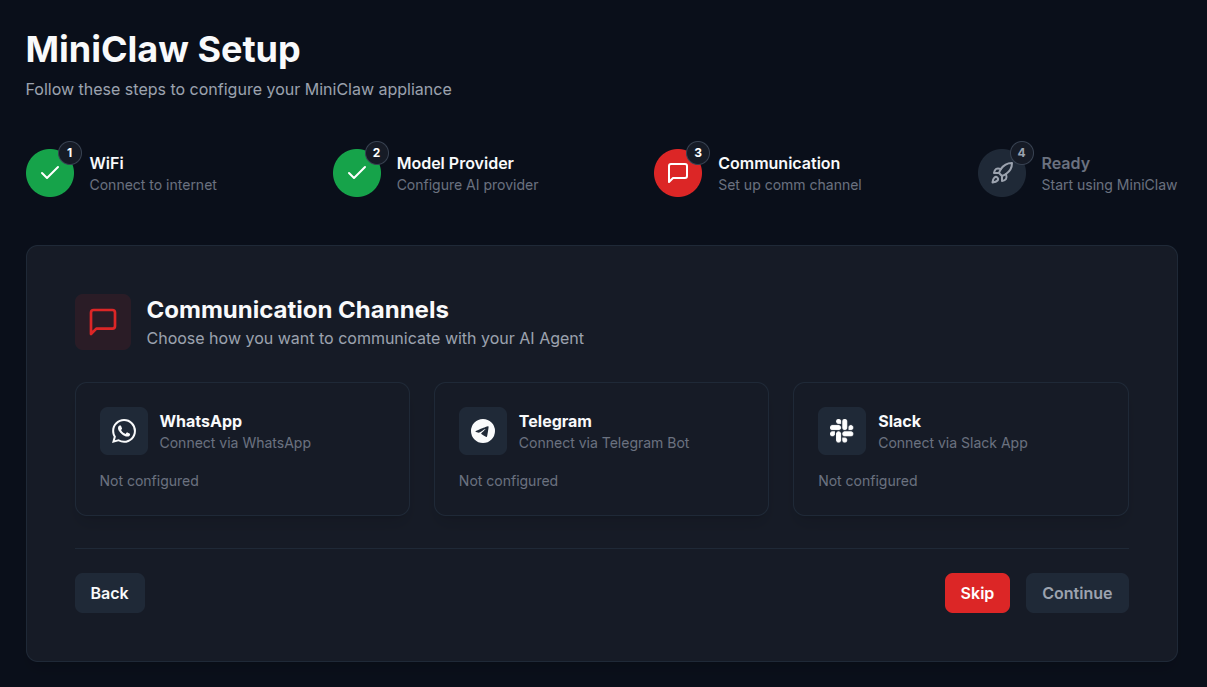
This step is optional and can be set up later.
Setup Complete
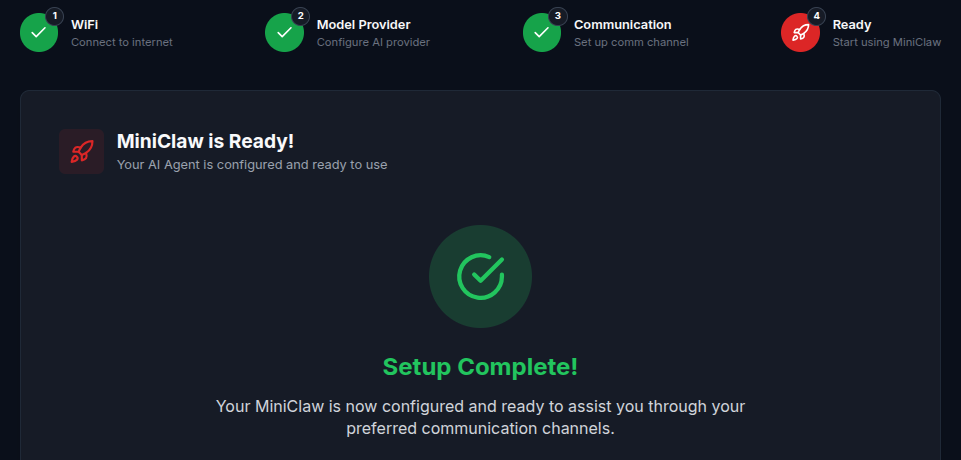
What's next
Launch your MiniClaw's Dashboard and navigate to the “Apps“ section:
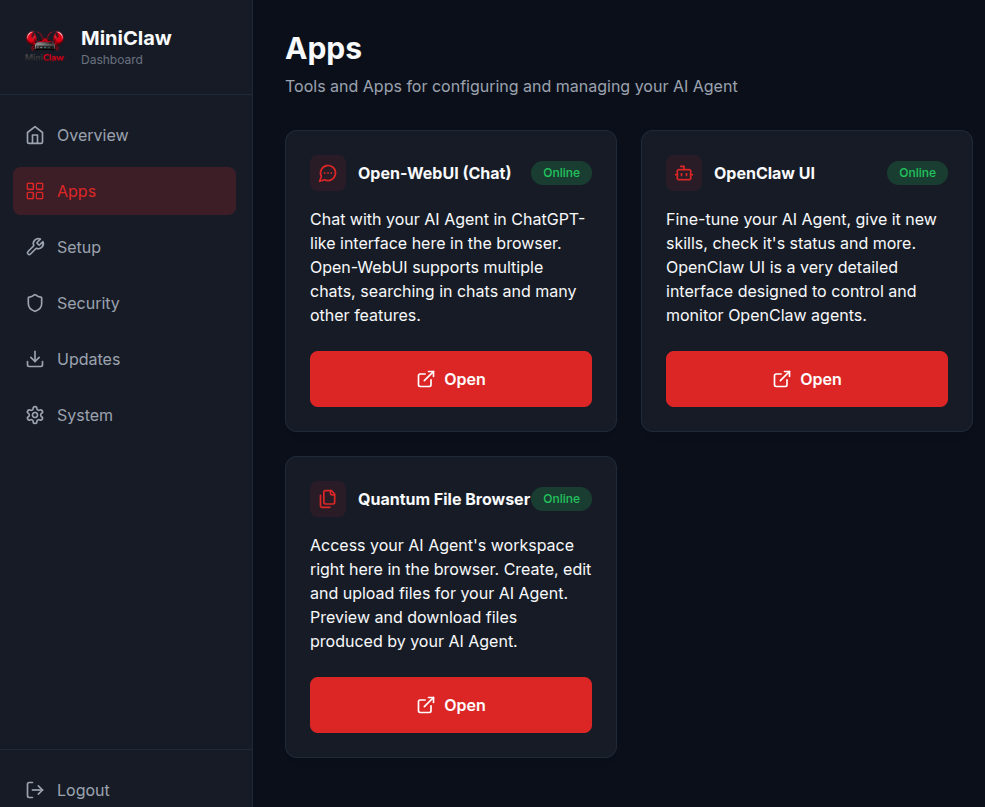
Probably the best way to start is to launch Open-WebUI and say “Hello“ to your Agent.
Need Help?
If you run into any issues, don't hesitate to contact our support team.